Created: 6 months ago
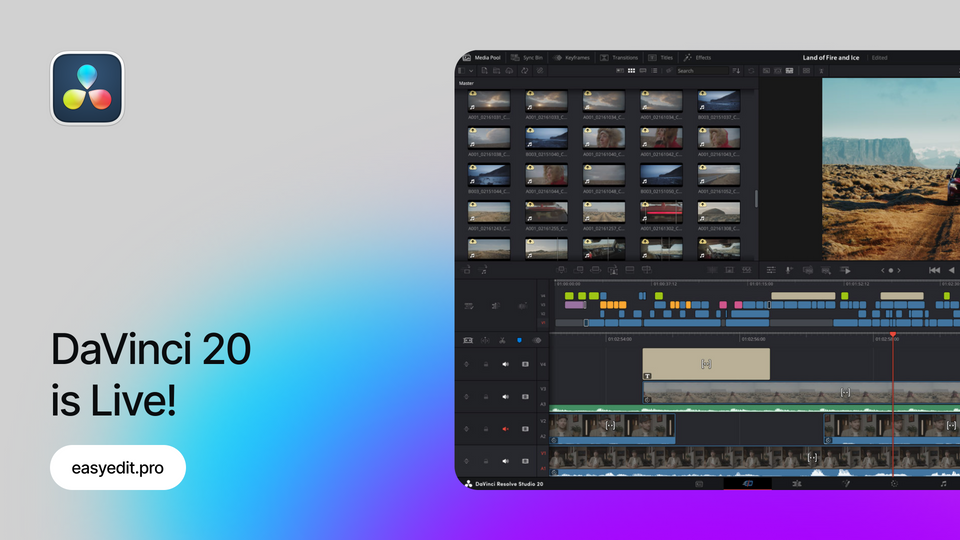
DaVinci Resolve 20 is LIVE - 100+ New Features you need to see!
The biggest DaVinci Resolve update is out!
Let’s see what else Blackmagic design has prepared for us inside!
Keyframe Editor
A huge update editors eagerly waited for - a keyframe editor available on the Edit and Cut pages.
Now, there’s no need to open separate clips to see the keyframe contents - all of the keyframes are located in one place! The first way to access it is via the Keyframes icon on the top screen, which will open the window with the Parameters panel on the left and the Keyframes panel on the right.
The parameters are conveniently separated into the Transform, Cropping, and Speed parameter groups. The Keyframe editor can be opened full-screen for more precise keyframe adjustments, resembling the Graph Editor of After Effects.
The second way you can get into the Keyframe Editor is via the same Keyframe icon but on the timeline tab - it will open the editor below the timeline.
Multicam Smart Switch
Another genuinely useful feature is the automatic camera switching while you video features two or more speakers who are talking. This is helpful for podcasters, as editing will become much quicker.
With your clip placed on the timeline, you can click on the AI Multicam Smart Switch icon and get into the customization window. Here, you can select angle switching, setup, set the quality, and hit analyze. The software will further cut your clip correctly, highlighting the speakers when they talk.
Audio Assistant (Studio)
Another incredible feature to help you drastically save time on your edits is your own Audio Assistant, available in the Studio version of Resolve. This AI tool can correctly set your audio, sfx, EQ, and volume and put everything in the right place.
To activate it, go to Timeline, AI Tools>Audio Assistant. Here, you can set the delivery standard, click on the Auto Mix, and see how DaVinci separated all of your audio tracks, colored it on the timeline, and placed them where it felt right. You can further go to Inspector and adjust the effects applied to each separate track.
AI Magic Masks (Studio)
Magic Masks have also been updated - now it’s easier to select the person or object straight from the preview screen, and the result is more impressive. Most of the settings are the same, from analyzing to setting the quality.
You can use a bunch of brushes to customize the selection, but it won’t affect tracking, so you’ll still need to go through each frame manually.
Animated Subtitles (Studio)
We can finally add automatic animated subtitles from the audio! To do that, you should have the Studio version of Resolve; from the Edit tab, click on the Timeline and select AI Tools>Create Subtitles for Audio.
Next, you can set the settings, such as the number of characters per line, the gap between subtitles, the language, and so on. Click Ok, and your subtitles will be generated. After that, you can drop any af the Animated effects from the Titles category straight onto your subtitles clip, and they will be animated. Additionally, you can customize the subtitles animation settings via Inspector.
AI Music Editor
This feature will give you the opportunity to cut your track and match the duration of your clip - not the opposite!
Now you can just go to the Inspector with your audio selected and activate the AI Music Editor feature. Here, set the target length of your track and click on the Adjust. The other way is to just tick the Live Trim and adjust the audio track manually on your timeline. You can also choose the preferred version - the software suggests multiple track versions after analyzing the clip.
Intelliscript
AI functionality now can use your script to adjust the clips. To use this feature, click on your clip within the media pool and select AI Tools>Create a new Timeline using Intelliscript.
After analyzing your clip, DaVinci Resolve will place everything on the timeline, with extra parts of the clip being disabled. Or, you can use the Intelliscript via Fairlight to remove the silence and pauses from your recording, which also makes the editing process dozens of times quicker. To do this, select the audio clip and hit O in the end to mark the selection, right-click and select Remove Silence. Customize the threshold and fade, and your silence pauses are removed!
Voiceovers
Now, you can add a Voiceover straight from the Edit and Cut tabs, without the need to use Fairlight like previously.
To do this, click on the microphone icon on your timeline and select the audio input. If you click on the three dots in the corner, you’ll also get the ability to mute the timeline audio(for example, music) to not get distracted while recording. When you’re ready, just click on the record button to start recording.
The fun thing is that you can also load the script while recording the voiceover at the Cut tab, so you can read the prepared text.
Export Presets
You can add your own presets to the Quick Export on the Edit and Cut pages! To do this, go to the Deliver tab and set the properties for your export, name it, and click Save as a New Preset. Now, click on the three dots, select your preset, and choose the Add to Quick Export option below. Now your preset appears in the Quick Export list!
AI Voice Converter
You can now also use AI to convert your voice or add your own voice preset to use in the future. Strong competitor to Eleven Labs, isn’t it?
To pick the ready voice preset, just click on your audio track and select Voice Convert from the options list. Here, you can pick the voice model, customize the pitch, or leave it to match the source.
To create an AI preset of your own voice, you can click on your clip at the media pool, select AI Tools>DaVinci AI Voice Training. DaVinci will go through your audio example and add it as a new preset to the list of AI voices.
Smaller Perks
The list of updates isn’t ending on the features below, as there are more and more smaller perks to add!
Copy Attributes
Now you can copy, paste and remove the attributes right at the Cut page. To do this, you can just use copy and paste, and to remove them, right-click on the clip and choose the attributes to be removed.
Checkerboard
You can easily separate two speakers into different tracks via Fairlight. To do this, select the track and go to the AI Tools>Checkerboard to New Tracks. Now, you can control the volume of these clips separately.
UI for Vertical Clips
Now, it’s more convenient to work with vertical clips. Once you’ve changed the timeline to a vertical resolution, the workspace will be conveniently adjusted for working with vertical content. You can open the preview window full-screen, still having a lot of space for the timeline and media pool. This UI will also work on the Color and Cut pages.
AI Beat Detection (Studio)
Now you can cut your edits to the beat with the new AI beat detection feature in DaVinci Resolve. Click on your track and select the Show Music Beats feature - after analyzing your track, DaVinci will place markers on it for the convenient snapping of your clips to match the beats.
Import .PSD files
You can now import and edit Photoshop .PSD files in DaVinci Resolve as individual layers.
Auto Text Box
Another convenient thing, is that you got a text box now! To active it, add your text via Text+, write it and switch to the Layout window. Switch the layout type to the Text Box, check the Wrap to Text Box option and now it’s activated. You can also go to the Fusion and re-adjust it.
Sourcetape
A cool feature that allows you to scroll through all of your content and quickly preview it in the window. To access it, click on the Sourcetape icon on the top left corner. You can also easily set In and Out and drop your clip string from the Sourcetape.
File Location
Now we can change the file location once creating the project. You can leave it as it is or change the location for convenience.
Font List
You can now customize the font list and leave only the fonts you use regularly - write down the fonts you use and save them as a .txt file. Go to the Editing>Text settings and click on the Display Only Specific Fonts option. Click on Browse and select your doc.
New Languages and Subtitles
A whole new set of languages is also added to DaVinci Resolve 20, so you can use transcriptions and extended support for over 57 languages.
Multitext
Another feature is a Multitext, which can be accessed via Titles effects. It allows to add multiple text layouts, such as Point, Text Box and Circle layots to choose from.
Compound Clip Playhead
Now the playhead stays on the same frame inside and outside of the compound clip - so you don’t have to get inside of it and scroll to the frame you placed the playhead out of the clip. Much easier!
Mixer
Another update for the Cut page: it now got the Mixer to work with EQ, dynamics, and sound controls.
While the Resolve is still in Beta, it’s soon to be fully launched with its features improving even further. AI tools are here to stay and improve your editing process, and we’re about to see them in action.
Check This
If you've enjoyed this tutorial, don't forget to check more guides - here you can check our recent DaVinci Resolve guides.
Unlock unlimited creative assets with EasyEdit Stock - get access to premium LUTs, transitions, titles, and effects for DaVinci Resolve, updated daily!
The template featured this week is ASCII Typography for DaVinci Resolve: