Created: 5 months ago
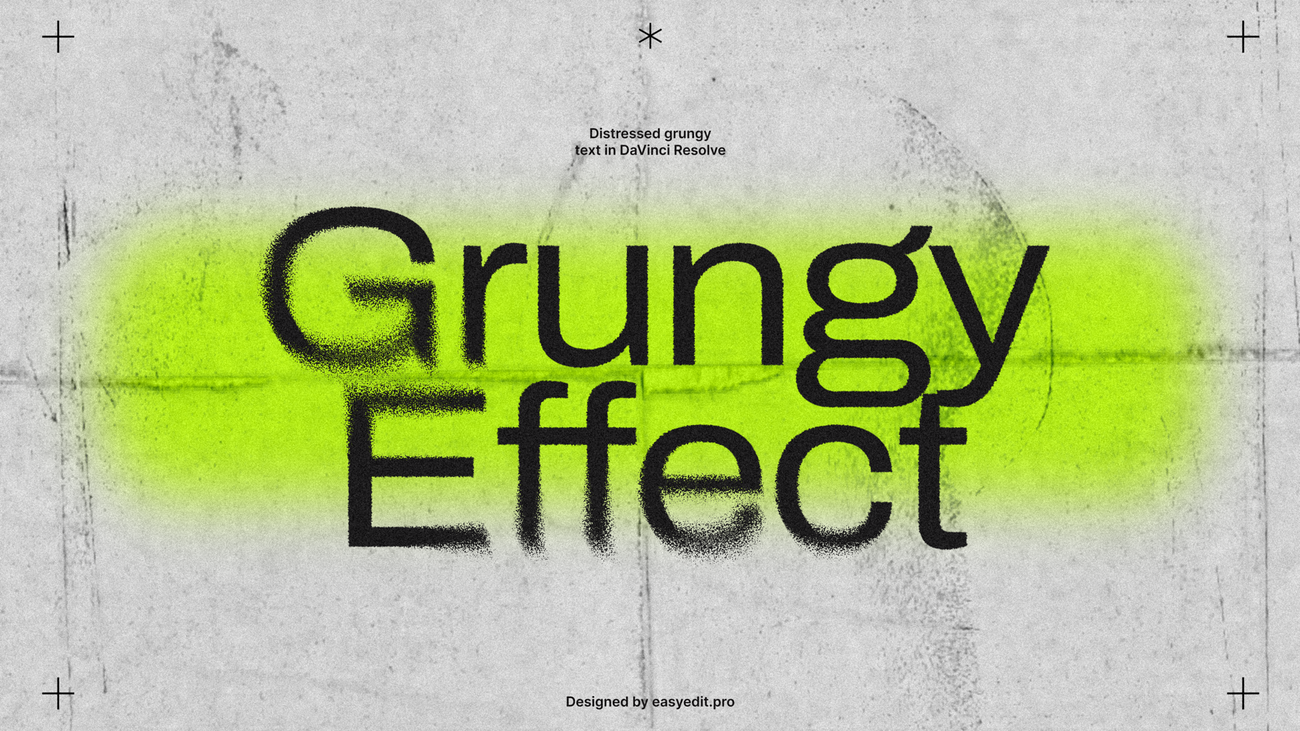
Grungy Distort Text | DaVinci Resolve Typography Tutorial
Let's make this Grungy Distort text effect in DaVinci Resolve! Apart from this, you’ll also get a great understanding of how to add and combine nodes, build the node trees, add keyframes, link properties, and more!
Watch the full Grungy Typography tutorial on YouTube.
You can also download this Grungy Typography Template from EasyEdit Stock.
Grungy Typography Tutorial
First of all, add Fusion Composition to the timeline.
It is currently empty and we need to fill it in. To do this, go to the Fusion tab.
Hit Shift + Space to open the tools menu and seek for the Background node, add it to the grid, also you can add it from the tools menu bar.
Сonnect Background to MediaOut node, now we have an underlay background.
Now let's add the Text+ node, using the menu or drag-and-drop it from the toolbar. Type the text you want, and make style changes before all future editing.
Now add the Fast Noise node, we will use it like a map for our text distortion. Drop it to the viewer window to see the noise texture, we need to make some changes. Set the Scale to a higher number, like 350, set the Contrast to maximum, and add Details.
Also go to the Color tab and make a transparent color black by setting the Alpha slider to 1.0.
Now add the Displace node. Connect Text1 to the Background input of the Displace node (yellow one) and FastNoise to the foreground input (green one).
Drop Displace node to viewer and now we can see a nice distortion text effect. Make some changes to make this effect look more interesting. Edit Refraction Strength to control effect power, also we can change the type of the displacement from Radius to XY for a different result.
We can make a mask to distort text with regions.
Select FastNoise and add a circle shape mask from toolbar. Edit the mask as you like to isolate our distorted effect, and move and resize the shape. Make a Soft Edge of the mask to make the distorted transition soft and clean.
Place the mask as you like. Duplicate the mask shape and add another area of displacement. Move it to another area.
The main distortion effect is ready, let's add more grunge style to this text. Copy the FastNoise and Displace nodes and connect them between Text and the first Displace nodes.
Make a Refraction about 0.006. It will add a little roughness to the text. Try different settings for a unique result. Connect your node tree between Background and MediaOut.
Change the text color, background fill color.
Now add another Background node with an Ellipse mask to the background before our text tree
Make soft edges to the shape.
Now add the Grain node before MediaOut to add animated noise.
Adjust Grain Power and Grain Size to make a grainy look.
Next, I'll add an animated Texture overlay using the Loader node.
Once added it will ask you to select an image or sequence, here we prepared a texture sequence and will select its first frame.
Connect the Loader with our texture after the Grain node.
Add Transform after Loader to fit it to the comp size.
And change Apply Mode on the merge node - we'll select Multiply.
And last I will add a Transform node to make a camera shake effect. Place it before MediaOut, go to Inspector and right click in the text field, and select Shake.
Default settings are too extreme so go to the Modifiers tab and set the Smoothness seed to 0.2. Set the minimum value to 0.498 and the maximum to 0.502 so the movement will be fast and short.
Also, increase the Size to crop the image a little bit. You can animate noise texture to make the title scene more dynamic. To do this I'll add expression to the Seethe controls. Right-click Seethe and choose Expression, now type time*0.1, it will animate this parameter.
Finally
Now you can easily create the same Grungy text effect and experiment to make it different!
New! Download this Grungy Typography Template on EasyEdit Stock.
If you've enjoyed this tutorial, don't forget to check more guides - here you can check our recent DaVinci Resolve guides.
You can also watch the full tutorial on YouTube.