Created: 2 months ago
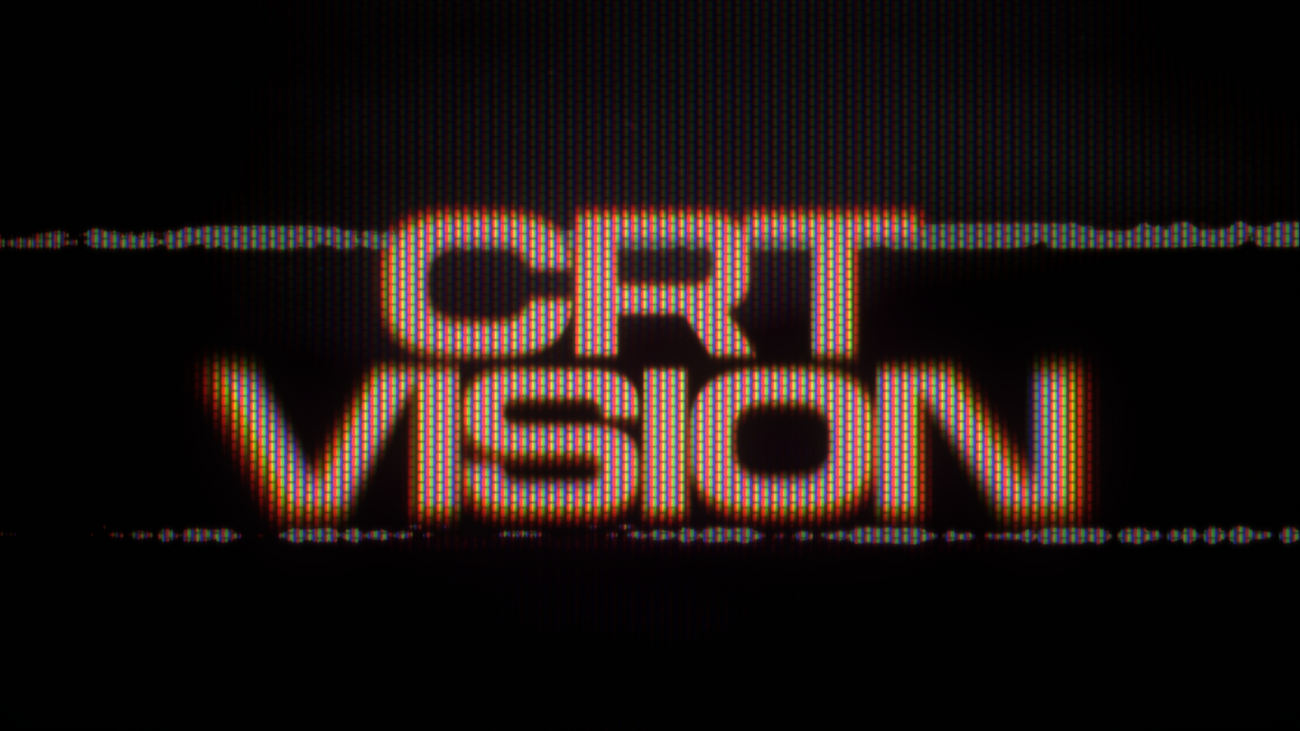
CRT Aberration Effect | DaVinci Resolve Tutorial
Hi editors!
Watch the full CRT tutorial on YouTube.
You can also download this CRT Template from EasyEdit Stock.
Adding Nodes
First, add an empty Fusion Composition to your timeline using Toolbox.
Now switch to the Fusion tab in the bottom bar.
Add a Background node and connect it to the MediaOut.
Now add Text+ node from the toolbar or use shift + space to search for it.
We’ll make the text style editing quick, and change font and pacing.
Now we need to create three backgrounds to separate our text color channels.
In the Image tab uncheck the Auto Resolution checkbox and set Width to 50 and Height to 25 pixels.
All three backgrounds must be of this resolution.
Adding Pixel Bars
Now we will make pixel bars for the color background to imitate the CRT effect.
Make three for each background and place them like in my example.
Connect to the mask input to background nodes.
Now go to the Setting tab on each background node and leave only one color channel active.
And set Edges mode to Wrap on every background.
Drop the last Merge node to the viewer to see how it works together. The result you got should look like this:
Adding Effects
Now let's add the Radial Blur node, and adjust Strength to add blur to the sides of the text.
Add another Blur node afterward to add blurriness to all text.
Connect node tree output between Background and MediaOut.
Now we will mix color pixel output and white text together. Drag Merge3 output to Blur1 output and it will connect to the Merge node automatically.
Now mix inputs using the Blend controller, You can swap inputs to have different effects.
Also, we can change the color or shape of the pixel rectangle shape to have a different grid look.
Now I want to imitate the color channel shift effect, so I’ll add Duplicate nodes after the text node. Separate Duplicate nodes for each color channel, and leave only one color channel too.
Edit the Center controller and shift for a few pixels to have an aberration effect. Combine inputs to make it look nice for you.
Now let's correct the output image. We use brightness and contrast node.
After all nodes add another Background node with orange or red color fill. We want to blend this color over the image.
Try different Apply Mode options to have interesting results.
After all, we’ve added more blur, camera shake, and texture overlay to add an analog effect to it.
Finally
Now you can easily create the same CRT text effect and experiment to make it different!
If you've enjoyed this tutorial, don't forget to check more guides - here you can check our recent DaVinci Resolve guides.
You can also watch the full tutorial on YouTube.