Created: 7 months ago
Sand Typography Tutorial | DaVinci Resolve
Hey editors!
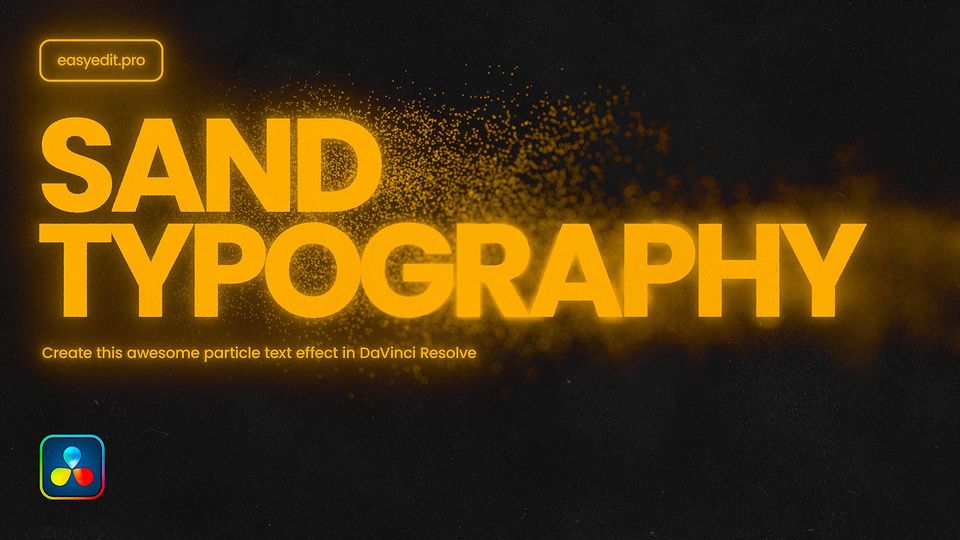
Here’s the result we’ll achieve:
Watch the full Sand Typography tutorial on YouTube.
You can also download this Sand Typography Template from EasyEdit Stock.
Sand Text Effect in DaVinci Resolve
Project settings
Let's set the project settings first. We set the resolution to 4K, but you can choose the Full HD option for better performance. The frame rate is 30 fps, which would be smooth and easy to render.
Now, create a new Timeline. Go to the Effects window and search for Fusion Composition.
Drop it on your timeline. You can adjust the length of the composition as you like. We set it to 5 seconds long.
Fusion tab and Nodes
Now, let's switch to the Fusion tab on the bottom bar.
Hit the Text node button on the top bar, or hit Shift+Spacebar to open the quick menu and type the name of the node you need.
Drag and drop the Text1 node to the viewer window to see its content. Enter the desired text and select a font; it is better to edit all text changes at the beginning.
Now, let's add the Dissolve node using the Shift+Space menu. Connect the Text output to the Green Input (Foreground) on the Dissolve node.
After that, we need to add the Background node. Connect Background to Yellow Dissolve Input (Background).
Select the Background node and set the Alpha slider to zero in the Inspector window. Now, we can switсh between inputs using the Background/Foreground slider.
We need to add FastNoise as a map for the Dissolve transition. Connect it to the pink input on the Dissolve node and drop it on the viewer's right.
Increase the Detail number and the Scale slider.
Keyframes
Go to the Color tab and switch it to Gradient, then set Gradient Type as Linear.
After that, select the Dissolve node and set the Operation to Gradient Wipe. Now, the transition evolves through a noisy gradient map.
Let's add keyframes to this slider. We set its value as 1.0 on the 6th 0th frame and 0.0 on the 90th.
Particles
Now, our transition is animated, and we can start adding particles.
Add pEmitter node. Set the Number of particles to 500. Set the Lifespan parameter to about 70-80, and make small adjustments to the Variance sliders.
Now add a pDirectionalForce node next to the pEmitter. Raise the Strength a little bit and set the Direction of particle animation.
Add a Turbulence node at the end of a chain. Here, we need to set the strength of particle force using X, Y, and Z coordinates.
Select p-Emitter node and go to Region tab, switch to Bitmap option.
Next, connect the Dissolve node output to the newly appeared yellow input on the emitter node.
Now, we set our text as a map for particles appearing. At the end of the emitter row, we need to add a pRender node so we can see the result of our simulation.
Drop it to the viewer and switch to 2D view in Inspector.
Now select p-Render node and set the Global In slider to the frame when our simulation will start to render. We set the start on the 60th frame.
Now connect pRender to Dissolve node outputs, and it will automatically add a merge node. We have merged text dissolve with particles.
Select the emitter node, go to the Style tab, and switch from Point to Blob particle style. Increase the Size of elements as you like, and experiment with other controls to see different results.
You can increase the number of particles to make them more intense.
Also, you can add a gradient noise map to make the transition more detailed. Make a Scale of 50 or higher and look closer at the edges of the dissolving text.
Also, edit the Softness slider on the Dissolve node. Play with all the parameters we have discovered to have your unique result.
Our Sand text is ready!
To Sum Up
Now you can easily create the same sand text effect and experiment to make it different!
If you've enjoyed this tutorial, don't forget to check more guides - here you can check our recent DaVinci Resolve guides.
You can also watch the full tutorial on YouTube.


