Created: 7 months ago
Crackled Print Effect | Easy After Effects Tutorial!
Hi friends!
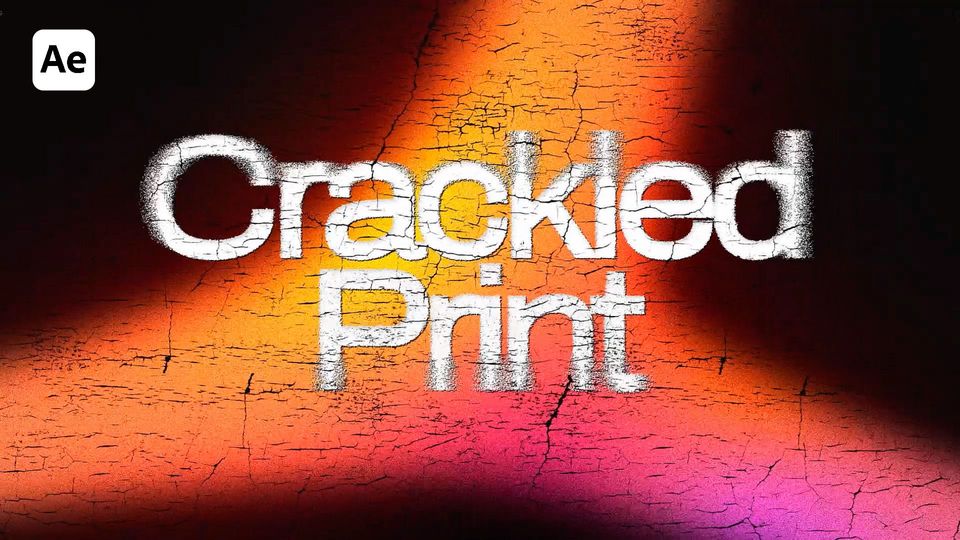
Here’s the result you’ll achieve:
Watch the full Crackled text tutorial on YouTube.
You can also download this Crackled text Template from EasyEdit Stock.
Crackled text in After Effects
Create a new text layer and center it.
Go to Layer Styles and add an Inner Shadow.
Decrease its Opacity, increase Distance, and add more Noise, so we can see it affecting our title.
Add a new shape layer and set its color to black. Select the Ellipse tool and draw an even shape on top of our title. Call this layer Mask.
Add a Solid Composite and Gaussian Blur effects to it. Increase the Blurriness and click the Repeat Edge Pixels. Disable the layer for now.
Add a Camera Lens Blur effect to our text layer. Decrease the Blur Radius, set the layer to Mask and source to Effects & Masks. Increase Focal Distance and Aspect Ratio.
Set the blending mode of both layers to Dissolve and precompose them into a text comp.
Apply a Drop Shadow effect to our precompose. Toggle the transparency grid to disable the background. Set the values as in the video.
Now add the background shape you like. You can find the shape we used here.
Drop the shape under the text layer and precompose both into a text shape comp.
Add a new shape layer and a rectangle on top with a lighter dark color - you can use 090909. Drop it under our text and call BG.
Now add a texture on top - we also linked ours here. Set it to Luma Matte.
Add a Displacement Map effect to our text and link it to the texture. Set other values as in the example.
Now add a new Adjustment Layer and apply a Noise effect to it. Increase the amount of noise. Add a Sharpen effect and set the Sharpen amount to 20.
Another effect we’ll add is Curves - set it as we do.
We’ll get into the text comp to increase the Distance a bit. The result is pretty cool, so now we can animate the text. Go to Animate>All Transform Properties.
Go to the 50th frame and set the Start value to 100%. Set it to 0 at the 0th frame.
EasyEase the keyframes and set the Speed Graphs as in the example.
Set the animation to be Based On Words and the Opacity to 0%.
Get back to the main comp and add a Null Object, drop it under the Adjustment Layer.
Turn the texture, Null and text comps into 3D.
Parent the texture comp to the Null Object.
Animate its Position like in the example. EasyEase the keyframes and set the Speed Graphs like previously.
Animate the Opacity of the text comp as we do in the example.
And finally, add a Posterize Time effect to the Adjustment Layer - set the frame rate to 20.
Our Crackled Print effect is ready!
To Sum Up
Now you can easily create the same liquid grunge text effect and experiment to make it different!
If you've enjoyed this tutorial, don't forget to check out more guides - here you can check our recent After Effects guides.
You can also watch the full tutorial on YouTube.


