Created: last month
Chromatic Aberration tutorial in After Effects!
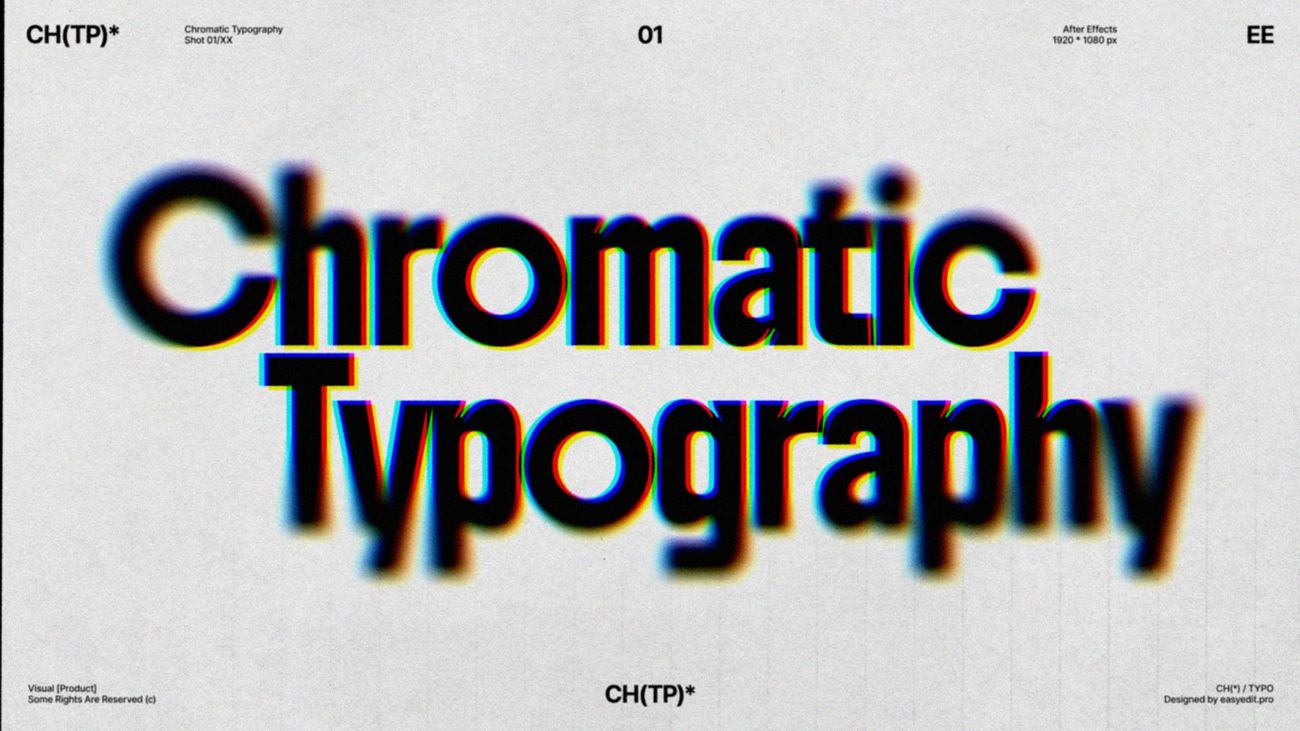
Here’s the result you’ll achieve:
Watch the full Chromatic Aberration Typography tutorial on Youtube.
You can also download this template on EasyEdit Stock.
Chromatic Aberration tutorial
Add your text. Separate it into different layers if there’s more than one word.
Hide one of the words for now.
Go to All Transform Properties of the first word.
Set the Start keyframe to 0% on the 0th frame, and the End keyframe to 100% on the 50th frame.
EasyEase the keyframes and set the Speed Graphs.
Go to Advanced and set the animation to be based on Characters.
Set the Opacity to 0. Set the Position to 150.
Go to the second word’s All Transform Properties. Set the keyframes to mirror the first word’s animation.
Set the Position to -150. Set the opacity to 0.
EasyEase the keyframes and set the speed graphs again. Here’s what we got now:
Animate the first word’s Position as in the example.
Animate the second word:
Add Null objects and parent each word to one.
Add Position keyframes as in the example and EasyEase them.
Now precompose everything, call it Text Comp.
Animate the Scale as in the example from 120% to 100%.
Add a Shift Channels effect and set each channel to Full Off apart from the red one. Duplicate the layer 2 times and repeat the same for Green and Blue. Select all layers and set blending mode to Add.
Place the Scale keyframes as in the example, making the 5-frame offset for each Out keyframe.
Set the Speed Graphs like this around the 50th frame.
Repeat the same for the Position keyframes.
Now, add a new Shape Layer and call it Mask. Set its color to white. Use an Ellipse tool to draw a shape on top. Center it.
Add a Solid Composite effect and turn the shape’s color to black.
Add a Gaussian Blur effect and increase the bluriness amount. Check the Repeat Edge Pixels.
Decrease the Opacity and set the shape to match the text.
Add a Camera Lens effect. Link the Blur Map layer to Mask. Increase the Blur Radius.
We can also animate the Scale of the Mask like in the example.
Add a new Adjustment Layer. Add Noise and Posterize Time to it, and set the Frame Rate to 15.
Our Chromatic Typography is ready!
To Sum Up
Now you can easily create the same Chroma Fade Typography text effect and experiment to make it different!
If you've enjoyed this tutorial, don't forget to check out more guides - here you can check our recent After Effects guides.
You can also watch the full tutorial on YouTube.