Created: last year
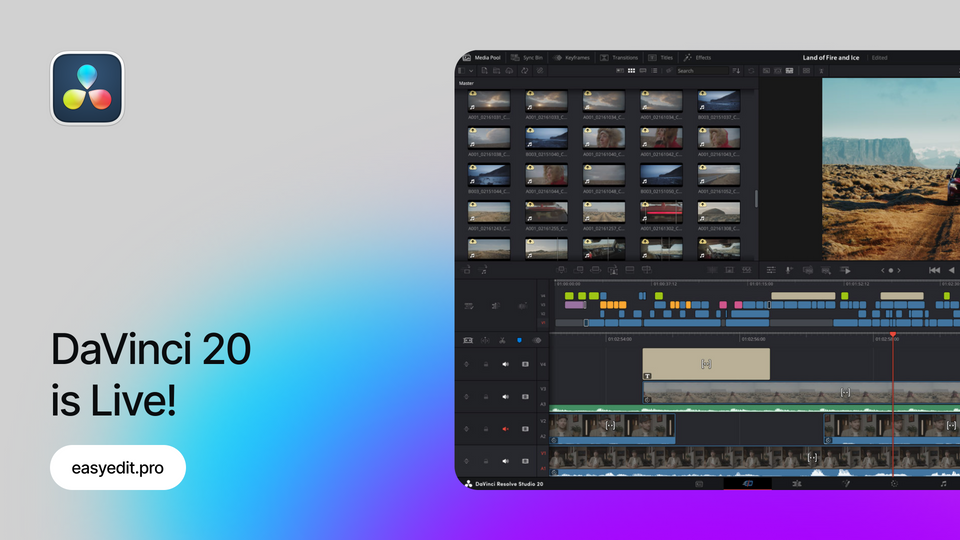
What’s new in DaVinci Resolve 19?
While it’s Beta for now, it won’t be automatically updated and you should download it for yourself. Let’s see what Blackmagic design got for us this time!
Cinematic Look Controls
The most praised feature from the new update is filmic look controls united in one place ( straight on the Edit tab). Probably, you’ll never need LUTs again - that’s how simple to color-grade your clip and make it cinematic!
Go to the Effects>Open FX and you’ll see a bunch of controllers united together. Here, you can apply and adjust extensive Color settings, Halation, Split Tone, Vignette, Bloom, Grain and select a built-in Color Space Input.
Transcriptions (Studio version)
You have more audio transcription options, including very useful ones, such as speaker detection. To apply it, click on your media clip and go to Audio Transcription>Speaker Detection.
Additionally, you can import existing transcriptions as an SRT file. To do this, click on your media clip and go to Audio Transcription>Import from Subtitles. From here, you can easily select part of your text and drop it to the timeline.
And probably the best feature added within the Transcriptions menu is the new AI text-based timeline editing. To do this, open the transcription window and click on the timeline view icon in the upper corner. Now, if you select some part of the text, it will be highlighted on the timeline. If you cut out the unnecessary part, it will also be deleted on the timeline. You can also automatically remove all identified gaps from the video. It makes montage a lot easier.
Timeline Backup
Another extremely helpful feature in DaVinci Resolve 19 is that you can restore deleted media from your timeline. Now, if you’ve deleted the whole timeline, you can click on the three dots on the media pool and go to Deleted Timeline Backups. Here you’ll see all of the timelines you’ve deleted and can revive your montage back.
Bezier Keyframes
Now you can finally add Bezier curves to the keyframes you’ve added. To do this, open the keyframe editor and add EaseIn and EaseOut keyframes for smoother animation. Bezier keyframes can be added to any effect within OpenFX library.
Audio Ducker and Dialogue Separator (Studio version)
We can now duck audio straight from the edit tab. It’s extremely convenient since audio tracks can be matched automatically, whether it’s voiceover or music.
To duck the audio tracks, you just need to click on the track and go to the Inspector>Audio. Here, just activate the Ducker switch. You can apply further customization by changing the Duck Level and going to the Advanced section, where you can change the Lookahead, Rise Time, Hold, Recovery and other options.
The Dialogue Separator works just as a Ducker - it will remove unneeded noise and chatter from the background. You can access it the same way as the ducking feature - click on the track and go to the Inspector>Audio. Here, click on the Dialogue Separation and customize such parameters as Voice, Background and Ambience. You can also fully mute them.
Music Remixer (Studio version)
Another AI-based feature is music remixing, which makes the Studio version purchase even more reasonable. Here, you can separate music track parts like Voice, Drums, Bass, Guitar or Others from a single track. You can access this feature from the Inspector>Audio.
IntelliTrack AI (Studio version)
Another AI-based feature added in Resolve 19 is the ability to track objects with IntelliTrack. To apply it, go to the tracking and switch the mode from Point Tracker to IntelliTrack. Next, just place the tracking point on your object and press play. No need for further adjustments!
With IntelliTrack you can additionally pan the audio via Fairlight, so it will match the object tracking. To apply it, go to Fairlight and click on the icon next to the preview window. Here, select Show Tracking Controls. Place the tracking point on the object and select the direction of movement. Click on the track and your audio is panned.
More new features
Additionally, Blackmagic design added new Speed Warp features, so you can now run it within two options - Speed Warp Better, or Speed Warp Faster. You can use Trim Editor not only from the Cut tab, but also from the Edit tab.
If you double-click on the video track, the enhanced trim editor will be opened. Here, you can move the edit point between two clips and trim them, which is more convenient than doing it from the timeline.
If you have an extensive library of effects, you can now easily find the effect you need by searching for it across all folders. To do this, simply click on the dropdown menu next to the search bar and select All Folders.
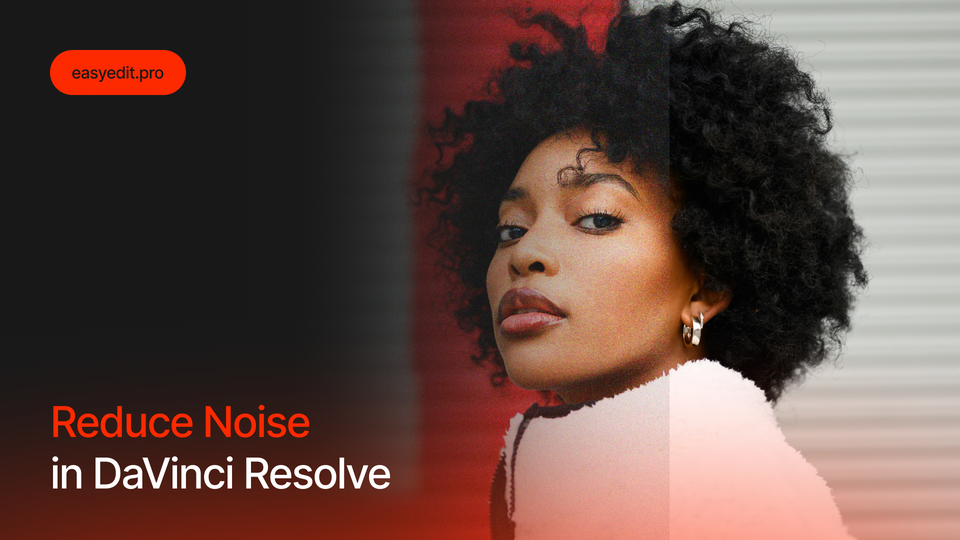
The new AI noise reduction feature allows you to quickly reduce the noise amount with UltraNR mode. It’s available on the Spacial NR menu along with other noise reduction options.
Also, you get nicely organized Favourites folders. Now all of the effects you’ve added to favorites are not just bunched together but separated into the titles, effects and etc.
If you use a Fixed Playhead, it’s now available from the Edit tab. To apply it, just go to the Timeline View options and select Fixed Playhead.
You can quickly auto sync your audio channels. To do this, select audio clips in the media pool, right-click on them, and choose Auto Sync Audio. Here you can select the channel number, sync via Waveform or Timecode, and just click Sync.
You can now defocus the background. Just find the Defocus Background effect and apply it to your video. And the cherry on top, you get faster decoding in the free version. Now, you can render H.264 and H.265 three times faster.
To Sum Up
As always, Blackmagic design brings us the best features. As we break down here, acquiring a Studio version worth every penny, especially now with these AI features being implemented so nicely.