Created: 2 weeks ago
Split Typography Tutorial | Split Text Animation in After Effects
This method is prepared for more experienced editors, but even if you’re a beginner, you’ll easily create this animation after following this tutorial!
If you want to follow a video tutorial, use this link.
Let’s get started!
Split Typography tutorial
Create a new composition and call it Text.
Create a new text layer and center it.
Create another composition and call it Text Stroke.
Drop the previously created Text composition into it. Duplicate the Text composition.
Set the Track Matte for the bottom layer to the first Text and click on the Invert the matte.
Now, add to our first text layer a Simple Choker effect and set the Choke Matte parameter to 10.
Create another composition and call it Text Comp. Drop the Text composition to it. Now let’s add a CC Split effect to our Text.
Move Point A to the end of our text. And set the keyframe on the 0 frame.
Now, move to the 150 frame and drag Point A to the beginning of our text.
Do the same with Point B, but make the 75 frames offset.
By now we should achieve the same animation of our points with a 75 frame offset, meaning the movement starts from Point A and in 75 frames starts the movement of Point B.
Now set the Split value to 70 to see the result.
Select all of the keyframes, EasyEase them with (Fn+f9), and set the speed graphs.
Now, copy the Split effect from our first text layer, get back to the Text Stroke composition, and paste the effect to both the first and second Text layers.
As we can see, the effect is pasted with the animation we’ve created previously.
Get back to the Text Comp and drop the Text Stroke under the Text.
Add an Echo effect to our Text Stroke.
Set the Echo Time parameter to -0,008. Set the number of echos to 75. And the Decay to 0,90.
Now, let’s add a Gradient Ramp effect.
Set the Start of Ramp at the beginning of the text, and the End Of Ramp at the end of the text.
Pick the gradient colors.
Add a Glow effect. Change the Glow Radius parameter to 50.
Now, create a new Adjustment Layer and add a 3D Glasses effect to it.
Select the same Adjustment Layer for the Left View.
Select the Balanced Color Red Blue in the 3D View.
Now set the Scene Convergence parameter to 1, it will give us some aberrations.
And finally, add a Noise effect to our Adjustment Layer. Set the Amount of Noise to 10% and disable the Use Color Noise.
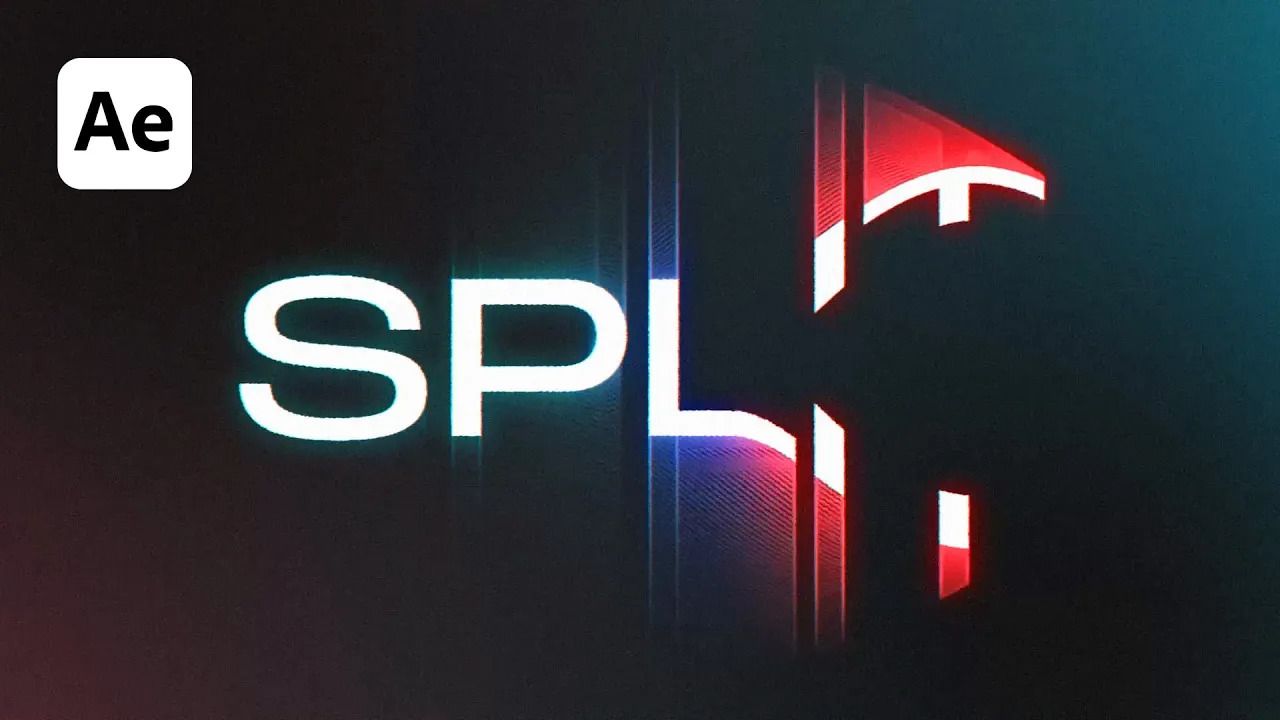
And here’s the split text effect we’ve created in After Effects!
To Sum Up
If you find this tutorial useful, don't forget to check more guides - here you can check our recent After Effects guides.


