Created: 3 days ago
Grungy Typography Tutorial | Text Animation in After Effects
Hello, editors!
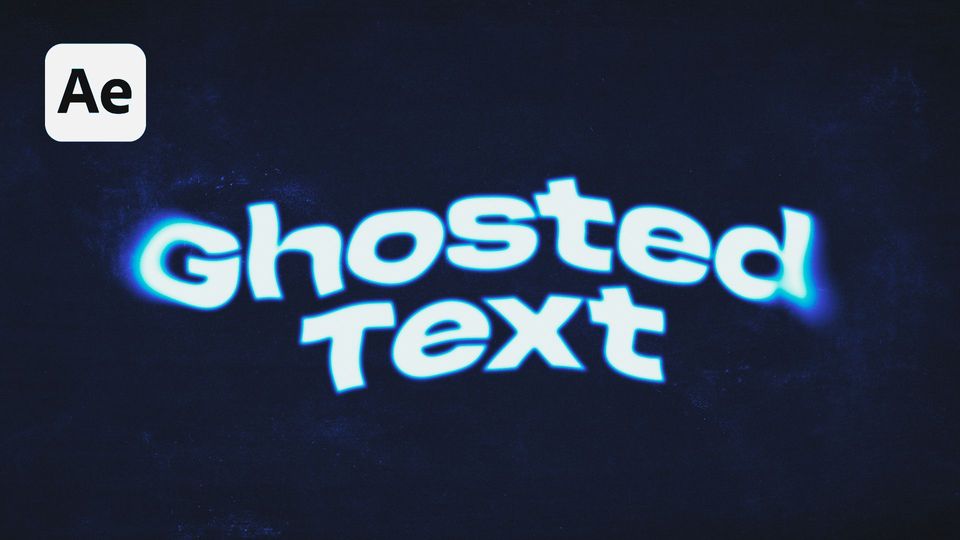
In today's tutorial we'll create this grungy text animation in After Effects:
How to create a Grungy text in After Effects
We'll begin with creating a new composition.
After that, create a new Text layer and center it.
Now, create a Shape layer.
Draw Elipses in the places where we want to see the text distortion.
Add a Solid Composite effect to our Ellipses layer and turn its color to black.
Add a Fast Box Blur effect to our Ellipses layer. Set the blur radius to 78 and enable the Repeat Edge Pixels.
Now go into the parameters of the first ellipse. Hold Alt and click on the Position parameter. Write down the Wiggle expression.
We can see that our ellipse has started to wiggle along the Position parameter randomly. Copy the expression we wrote, and paste it into the Scale and Rotation parameters.
Now, do the same for the second ellipse.
We can disable this layer.
Now, let’s add a Camera Lens Blur effect on our text layer. Set the Blur radius to 75.
Link our Blur Map layer to the shape layer containing our ellipses, and select the Effects & Masks among the source list.
Choose the Dissolve blend mode for our text layer.
Add a new shape layer and call it Background.
Double-click on the Rectangle tool and pick a grey color.
Let’s add a texture - in our case, it’s paper and cardboard, but you can use any other for your grunge text.
Enable Time Remapping on this texture if its duration is too short.
Hold Alt and write down the LoopOut expression, so we can extend our texture to match the length of our composition.
Add a Displacement Map effect on our text layer and link it to the texture layer. Pick Effects & Masks from the source list.
Now we can see that our text reacts to both texture and ellipses as we planned.
Create a new Adjustment Layer and add a Noise effect to it. Set the Amount of Noise to 25% and disable the Use Color Noise.
Create another Adjustment Layer and add a Posterize Time effect to it. Set the frame rate to 10.
We like how it turns out, so we can finally create a simple text animation.
How to animate a Grungy text in After Effects
Add a Range Selector to our text layer and set the keyframes for our Start parameter - from 0% to 100%. Set the Opacity to 0%.
Make sure the animation is set to be based on Characters.
Finally, set the Smoothness parameter to 0%, so our text will appear sharply.
Our nice, grungy text effect is ready!
To Sum Up
If you've enjoyed this tutorial, don't forget to check more guides - here you can check our recent After Effects guides.
You can also watch full tutorial on Youtube.


