Created: last year
Liquid Typography Tutorial | How to Create Liquid Text Animation in After Effects
Hello friends and welcome to our tutorial!
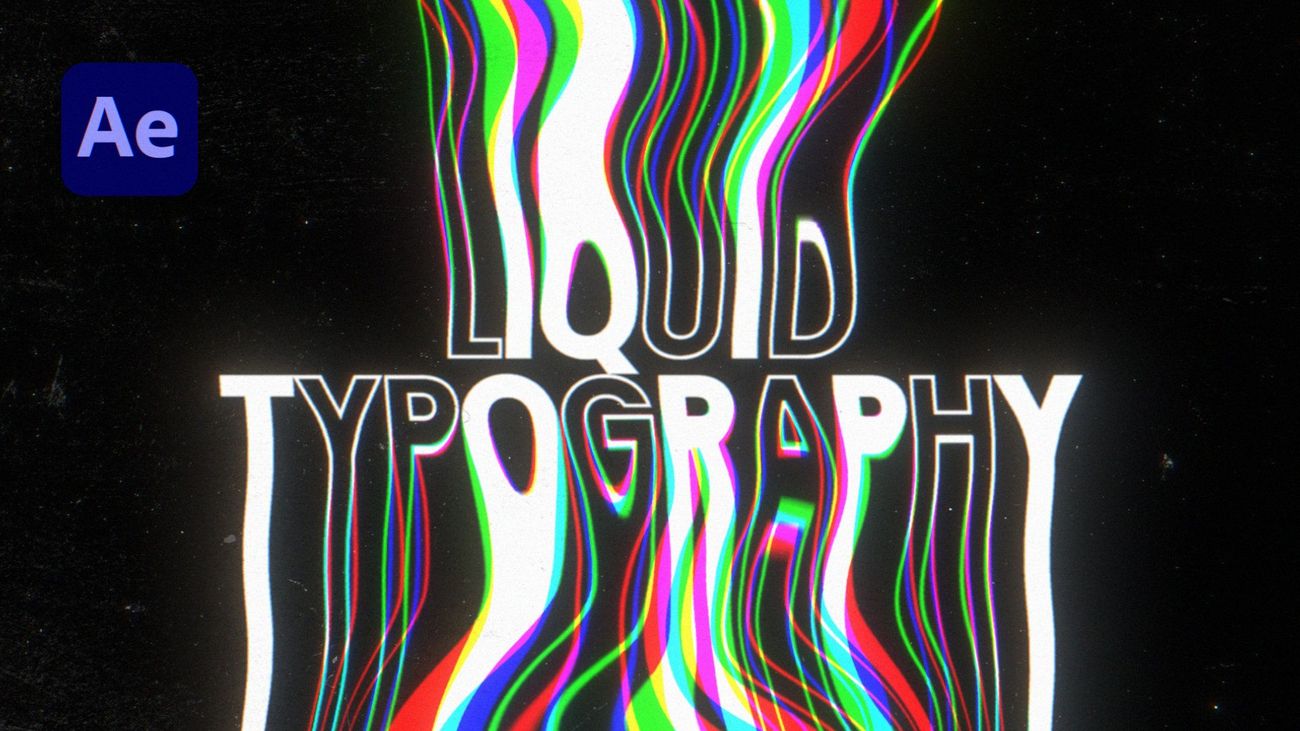
Here’s what you'll create by the end of this tutorial:
This liquid typography technique uses various distortion and glitch effects to create an illusion of liquid melting text.
The result - is expressive and bold, sometimes psychedelic text that captivates and attracts attention.
In today's tutorial, we'll recreate one of the shots from Titles Pro pack - you can find it here. Titles Pro has more than 1500 animated templates inside, including minimal titles, liquid, fashion, sport, glitch, cinematic and many more:
Let's jump into After Effects and begin our tutorial!
Create a Text Layer
Here we are in After Effects and let's create a new comp.
Make it 180p by 180p, 30 frames per second, 5 seconds long and call this comp “Text”.
Type the text and activate the guides to see where the center of composition is:
An important thing here is to have the Stroke and the Fill enabled. If you don't, just select your text, click on the Stroke Color, select the color you need and set the Stroke Width to 4 pixels.
Call this layer “Text_1” and animate it. Bring up its properties and in the Animate tab select Fill Color>Opacity to create an Animator for the Fill Color.
Next, do the same for the Stroke Color>Opacity.
Be sure to create two different animators - for the Stroke and for the Fill, because we need to animate them separately.
Set the Fill Opacity and the Stroke Opacity to 0% and create a keyframe in the Range Selector 2.
Go forwards two seconds and set the start to 100%.
Repeat this action for the Fill.
The next thing we want to do in the Advanced tab of the Range Selector, is click on the Randomize Order for the Fill and Randomize Order for the Stroke.
Set the Range Selector for the Fill 50% and a Random Seed to 1.
Now let's Easy Ease our keyframes to make the animation smoother - hit U, select keyframes, F9, go to Graph Editor and Ease out the keyframes.
This is the result we currently have:
Now, let's duplicate our text. Place the new text layer under the old one and center everything. Hide the title guides and hit U for the Text tool.
Set a different Random Seed for the Fill and a different Random Seed for the Stroke, so everything will be animated randomly and differently.
Create a Liquid Layer
Now, let's create another comp - we'll also make it 180p by 180p, 30 frames per second, 5 seconds long and call it “Liquid”.
Drag the “Text” comp inside of the “Liquid“ comp:
And apply CC Scale Wipe effect to your text.
Set the Stretch to 10, the Direction to 0 and the Center of the direction will depend on your text, font and the size of it.
Let's duplicate the Scale Wipe for the second text layer in the reverse direction, so it will look like a mirror. Set it to 180 degrees and adjust the center like this:
Now let's add CC Smear effect:
Make the Reach around -100 and the Radius around 300:
Duplicate it and do the same thing for the lower part of text.
Next, apply the Liquify effect.
Basically, the Liquify is a slightly advanced mesh warp - you may know this effect from Photoshop.
In the Warp tool options set the Brush Size to 200 and Brush Pressure to 100.
Adjust the text as you like - of course your results may differ so play with this as you wish.
You can also Twist everything to get even better look.
The next thing we want to do is duplicate our text. You can hide the effects so they won't distract you.
Separate RGB Channels
Now we're gonna create the chromatic aberration because as we can see the effect is pretty colorful so we need to separate the RGB Channels.
Call the upper text "Red", the middle text "Green" and the bottom text "Blue". Set the blending mode of these three layers as Add:
Apply the Shift Channels effect to all three layers.
In the Red Channel, set Take Green From>Full Off and Take Blue From>Full Off.
In the Green Channel set Take Red From>Full Off and Take Blue From> Full Off.
If we solo the Green channel, we can see that only the green color will pass through:
Apply the same actions for the Blue Channel:
Now, in the Liquify effect set the Distortion Mesh Offset for the Red Channel to -60 for the best result.
Repeat it for the Green Channel, but offset the distortion to +60 pixels.
The next thing you can do - distort the meshes separately to get even more psychedelic effect. Distort Red and Green Channels as you like:
Hope you're enjoying the result so far! It always works out in the most interesting ways.
Add Effects
The last thing we can do here is to create an adjustment layer. We’ll call it “Effects”.
Apply the Fast Box Blur effect, set the Blur Radius and the Iterations to 1.
Apply the Levels effect and set it this way:
Apply the Noise effect and add 10% Noise:
Now we can see the grains in the light areas:
The last effect you can apply is Wave Warp. Set the Wave Warp Direction to 0 degrees, Wave Width to around 120 and Wave Height to around 5:
We’ve just created this liquid-dripping text. Notice, that this effect is pretty heavy on the render.
Add Textures
Now let's finish the shot - create a new comp and make it Full-HD.
You can also add some textures to this - we’ll use Easy Edit Assets to find suitable textures. This is free tool from EasyEdit, you can download it here.
It allows you to search and download GIFs, images and videos from popular free stock resources directly to After Effects, which is very convenient.
We’ve selected Unsplash and typed “texture” to find suitable ones:
The Assets added textures directly to our project. We used these old iron and smudge textures, scaled them and applied Levels effect:
The Result
Now we maded our liquid text animation in After Effects!
Hope you enjoyed this tutorial, for more tutorials like this check our blog - we create guides for After Effects, Premiere Pro, DaVinci Resolve and Final Cut; guides for editors and designers.
See you in our next tutorial!


